

Last Updated: October 24, 2026
Quick Summary
To treat painful calluses safely, soak your feet in warm water for 10 to 15 minutes, then gently exfoliate with a pumice stone or foot file using light pressure for 2 to 3 minutes, and apply urea cream while skin is still slightly damp. Consistency with daily moisturizing matters more than intensity, and you should stop if you see bleeding, raw patches, or ongoing pain after two weeks of home care.
- Soak feet in warm water for 10 to 15 minutes, then gently rub the callused area with light pressure during the soak
- Use a pumice stone or foot file with very light pressure in circular motions for only 2 to 3 minutes per foot
- Apply urea cream immediately after soaking and exfoliation while skin is still slightly damp for deeper penetration
- Stop exfoliating if skin becomes raw, painful, or bleeds; healthy skin should feel smooth and slightly pink only
- See a podiatrist if pain persists after two weeks of consistent home treatment or if you have diabetes or poor circulation
Table of Contents
- Understanding Calluses and Why They Form
- How to Soften Calluses on Feet: The Safe Soaking Method
- Callus Removal at Home Safely: Gentle Exfoliation Techniques
- Urea Cream for Foot Calluses: Hydration and Softening
- Managing Pain and Irritation During Treatment
- When to See a Podiatrist for a Callus
- Preventing Calluses From Returning
- Start Your Callus Treatment Today
Understanding Calluses and Why They Form
A callus is a thickened area of skin that forms in response to repeated pressure or friction. Your body builds up extra layers of hard skin as a protective mechanism.
They form because your feet endure constant stress.
Understanding why calluses form is your first step toward treating painful calluses safely. The more you know about what causes them, the better you can prevent them from returning after treatment.
How to Soften Calluses on Feet: The Safe Soaking Method
Soaking is the gentlest way to start softening calluses at home. Warm water softens the thickened skin, making it easier to remove without causing damage. This is where most safe home treatment begins.
The goal of soaking is to hydrate the callused area and prepare it for gentle exfoliation. You're not trying to remove the callus in one step, you're breaking the process into manageable stages that your skin can handle without irritation.
Preparing Your Soak
Start with clean water and a basin deep enough to submerge your feet. Use warm water, not hot.
Add Epsom salts or STOMP Footcare Mineral Foot Soak to your water.
If you have sensitive skin or existing irritation, skip the salt initially and use plain warm water first. You can always add salt once your skin settles.
The Soaking Process
Soak your feet for 10 to 15 minutes.
During the soak, gently rub the callused area with your fingers or a soft cloth. Don't scrub hard. The goal is light stimulation, not aggressive removal.
After soaking, pat your feet dry with a soft towel. Don't leave them wet, damp skin is more prone to irritation and infection. Pat gently rather than rubbing vigorously.
Callus Removal at Home Safely: Gentle Exfoliation Techniques
After soaking, your calluses are ready for gentle exfoliation. This is where you remove the thickened skin layer by layer, carefully and slowly.
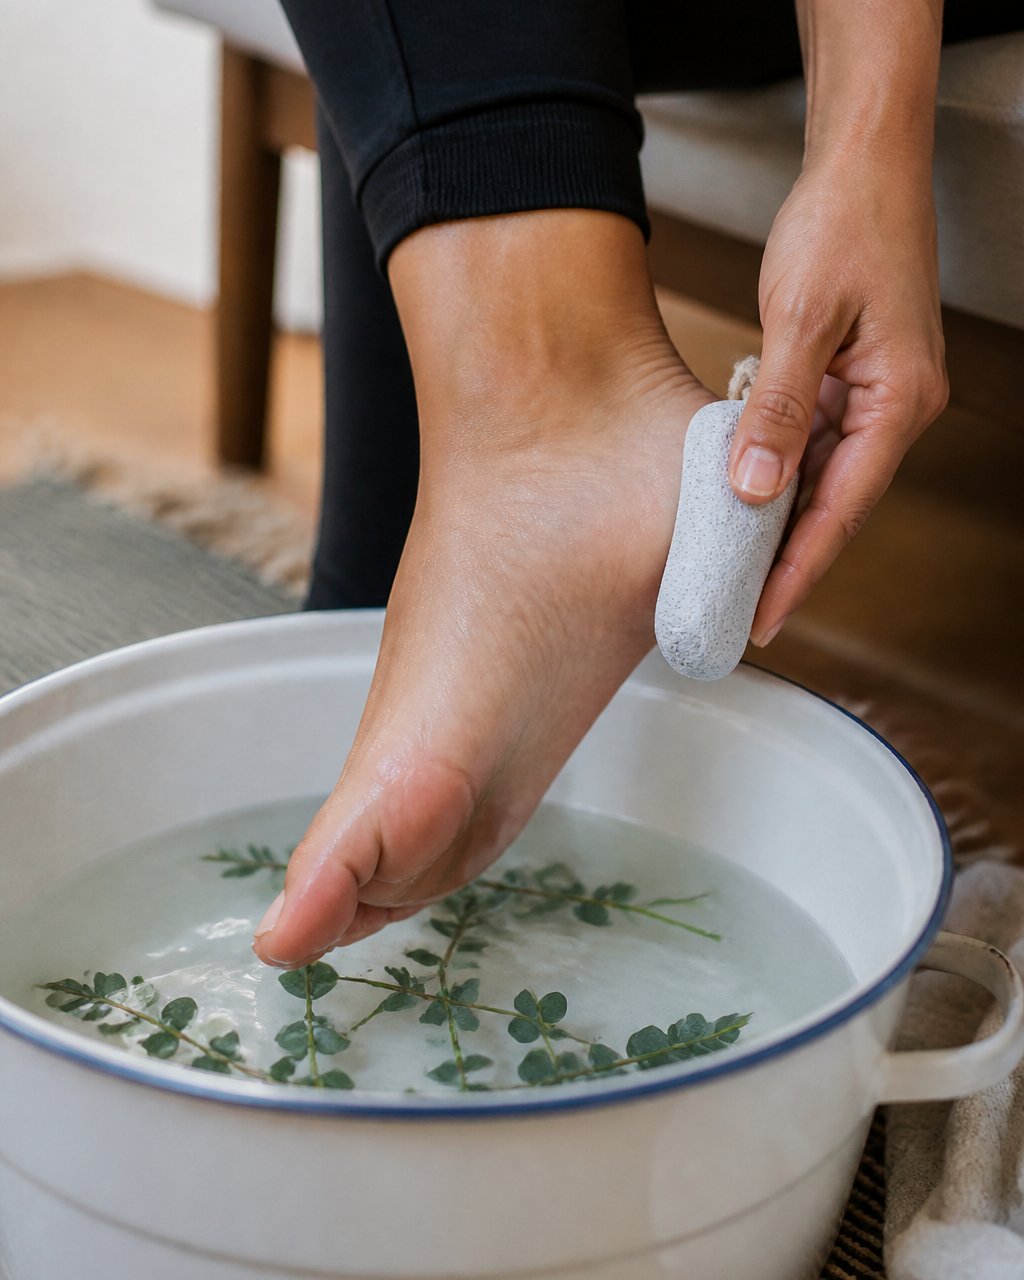
The key word here is gentle. Over-aggressive exfoliation is how people cause bleeding, pain, and infection. Your goal is to remove dead skin gradually over several treatments, not strip everything away in one session.
Using a Pumice Stone, Foot File or Foot Scrub
A pumice stone, foot file, or foot scrub removes dead skin through gentle friction. Soak your feet first, then use light pressure in circular motions on the callused area.
Start with very light pressure. You're testing how your skin responds. If it feels uncomfortable or you see redness, stop immediately.
Work for just 2 to 3 minutes per foot. Longer sessions increase the risk of over-filing and creating raw patches. You can repeat this process several times per week if needed, but consistency beats intensity.
A foot scrub or pumice stone works well for mild to moderate calluses. For thicker calluses, a foot file with a coarser surface may be more effective.
Recognizing When to Stop
This is critical: know when to stop exfoliating. Your skin should feel smooth, but it should never feel raw, painful, or bleed.
Healthy skin after exfoliation looks slightly pink and feels softer. It should not be red, inflamed, or tender to touch.
A good rule: if you're unsure whether to keep going, stop. It's better to under-treat and repeat the process than to over-treat and damage healthy skin underneath.
Urea Cream for Foot Calluses: Hydration and Softening
After exfoliation, hydration is essential. Urea cream is specifically designed to soften calluses while hydrating the skin.
Apply urea cream immediately after your soak and gentle exfoliation, while your skin is still slightly damp. Use the Intensive Callus Remover, which contains salicylic acid and urea to enhance performance while hydrating and softening skin.

The Intensive Callus Remover is non-greasy and absorbs quickly, making it ideal for daily use.
For ongoing hydration between treatments, the Hydrating Foot Cream locks in moisture with jojoba oil, aloe vera, and urea.
Consistency matters more than intensity. Using urea cream daily for two weeks will show better results than aggressive treatment once per week.
Managing Pain and Irritation During Treatment
A painful callus is a different problem from a cosmetic one. Pain, cracking, bleeding, or inflammation means the skin barrier is compromised, and the standard soak-file-moisturize routine can make it worse. This section gives you symptom-based rules so you can decide what to do at home and when to stop.
Triage by Symptom
Use this quick decision guide before you touch the callus:
- Tender but intact: The callus hurts when you press it, but the skin is not broken. Skip exfoliation for now. Soak in warm water for 10 minutes, pat dry, and apply a urea-based moisturizer. Reassess in 48 hours. If tenderness is gone, resume gentle filing once.
- Cracked but not bleeding: Fissures (small cracks) are common on heel calluses. Do not file across a crack, you will widen it. Instead, soak briefly, apply a thick urea cream (look for 10-20% urea on the label), and cover with a plain adhesive bandage or a thin layer of petroleum jelly to lock in moisture. Avoid medicated callus removers entirely while a crack is open.
- Bleeding, oozing, or hot to the touch: Stop all home treatment. Clean gently with mild soap and water, pat dry, and cover with a sterile bandage. Do not soak, file, or apply acids. See a podiatrist or other clinician promptly, bleeding and warmth can signal infection.
Medicated Callus Removers: When They Help and When They Harm
Over-the-counter callus removers usually contain salicylic acid, often in a patch, liquid, or medicated disk. They can soften thick skin, but they are easy to misuse.
- Follow the label exactly. Most products specify how long a patch stays on and how many days of treatment are allowed. Leaving a medicated patch on longer than directed can burn surrounding healthy skin.
- Do not combine with filing. Using a pumice stone or file on skin treated with salicylic acid removes the protective layers and increases the risk of irritation and chemical burns.
- Skip them if you have diabetes, poor circulation, or reduced sensation in your feet. The label warnings on most salicylic-acid callus products say exactly this, and the reason is that you may not feel damage as it happens.
A common pattern is that people get impatient after two or three days and leave a patch on overnight or apply a second one. That is the most frequent route to a chemical irritation that takes longer to heal than the original callus.
Realistic Timeline and Healthy Stopping Points
Calluses build up over weeks or months, and they come down the same way. Expect gradual softening, not overnight removal.
- Days 1-3: Skin feels softer after soaking and moisturizing. The callus may look slightly less thick. No filing yet if the area is painful.
- Days 4-10: With gentle filing once or twice a week, the top layer gradually thins. Stop each session after 2-3 minutes per foot, or sooner if you feel heat, stinging, or see pinkness that does not fade within a few minutes.
- Weeks 2-4: Most people notice meaningfully softer skin and less pain with consistent daily moisturizing. If pain has not improved after two weeks of careful home care, that is your signal to see a podiatrist.
If the callus keeps returning in the same spot after treatment, the cause is pressure, not skin. That is a footwear and load-distribution problem, and a podiatrist can help you identify it.
Use this guide to decide how to treat your callus based on its current condition.
Callus Condition |
What to Do |
What to Avoid |
|---|---|---|
Tender but intact |
Soak 10 minutes, apply callus remover and urea moisturizer, reassess in 48 hours |
Exfoliation or filing |
Cracked but not bleeding |
Soak briefly, apply 10-20% urea cream, cover with bandage |
Filing across cracks, medicated removers |
Bleeding, oozing, or hot |
Clean gently, cover with sterile bandage, see podiatrist |
Soaking, filing, acids |
Redness spreading, foul odor, or fever |
Seek medical care the same day |
Home treatment of any kind |
When to See a Podiatrist for a Callus
You should see a podiatrist if your callus is painful, bleeding, or not improving after two weeks of consistent home treatment. A professional can remove calluses safely using sterile tools and can address underlying causes like improper footwear or gait issues.
A podiatrist can also determine whether what you're treating is actually a callus or something else, like a corn, wart, or other foot condition that requires different treatment.
If you have diabetes, poor circulation, or reduced sensation, see a podiatrist for callus treatment rather than attempting it at home (Diabetes Awareness). The risks are too high, and professional care is safer and more effective.
American Podiatric Medical Association guidance on foot care
Preventing Calluses From Returning
Prevention is easier than treatment. Once you've softened a callus, focus on preventing it from returning.
Wear properly fitting shoes. Shoes that are too tight or too loose create friction and pressure.
Use cushioned insoles or pads in areas where calluses form.
Keep your feet hydrated daily. Use the Hydrating Foot Cream or a similar urea-based moisturizer every day, especially after showering.
For athletes and people on their feet for long hours, consider Preventing Foot Calluses for Daily Runners: 7 Steps for a comprehensive prevention plan tailored to active lifestyles.
Start Your Callus Treatment Today
Treating painful calluses safely at home is possible when you follow a gentle, consistent approach. Soak, exfoliate gently, and hydrate, that's the foundation of safe home treatment.
The Intensive Callus Remover with salicylic acid and urea softens thick skin while the Hydrating Foot Cream prevents calluses from returning. Together, they support healthy feet and reduce pain.
Start with a soak today, follow with gentle exfoliation, and apply hydrating cream consistently. Most people see softer, smoother feet with consistent use. Read more about treating calluses and dry skin safely for additional guidance on managing foot health.
Safe callus treatment takes patience, but it works. Your feet carry you through your day, give them the care they deserve.

