

Table of Contents
- Quick Comparison: Relief Methods at a Glance
- 1. Soak Your Feet in Warm Water and Mineral Salts
- 2. Roll and Massage Your Feet to Reduce Fatigue
- 3. Elevate Your Feet and Rest After a Hike
- 4. Treat Blisters and Hot Spots Properly
- Best Insoles for Hiking Foot Pain and Arch Support
- Hiking Shoe Lacing Techniques for Foot Pain Relief
- Hiking Foot Care Tips to Prevent Soreness on Future Trails
- Frequently Asked Questions
Last Updated: October 15, 2026
Quick Comparison: Relief Methods at a Glance
After a long hike, sore feet are almost guaranteed. The question isn't whether your feet will hurt, it's how quickly you can recover and prevent the problem on your next trail. We've compiled effective sore foot relief hikers need based on what actually works when you get home from the trail. Below, we'll walk you through seven proven methods that range from immediate relief to long-term prevention. (Source: National Institutes of Health study on the benefits of Epsom salt baths)
| Relief Method | Best For | Time to Apply | Cost |
|---|---|---|---|
| Warm water soak | General fatigue and soreness | 15-20 minutes | $15-20 |
| Foot massage/rolling | Muscle tension and fatigue | 10-15 minutes | $10-30 |
| Elevation and rest | Reducing swelling | 30+ minutes | Free |
| Blister treatment | Hot spots and blisters | 5-10 minutes | $5-15 |
| Proper insoles | Arch and metatarsal pain | Ongoing | $30-80 |
| Lacing techniques | Pressure point relief | 2 minutes | Free |
| Prevention strategies | Avoiding soreness on future hikes | Varies | Varies |
The most effective approach combines multiple methods. Start with immediate relief after your hike, then layer in prevention strategies for your next adventure.
1. Soak Your Feet in Warm Water and Mineral Salts
Soaking tired feet in warm water with mineral salts is one of the fastest ways to ease soreness after hiking. The warmth increases blood circulation to your feet, helping flush out metabolic waste that builds up during hours on the trail. Mineral salts enhance this effect.

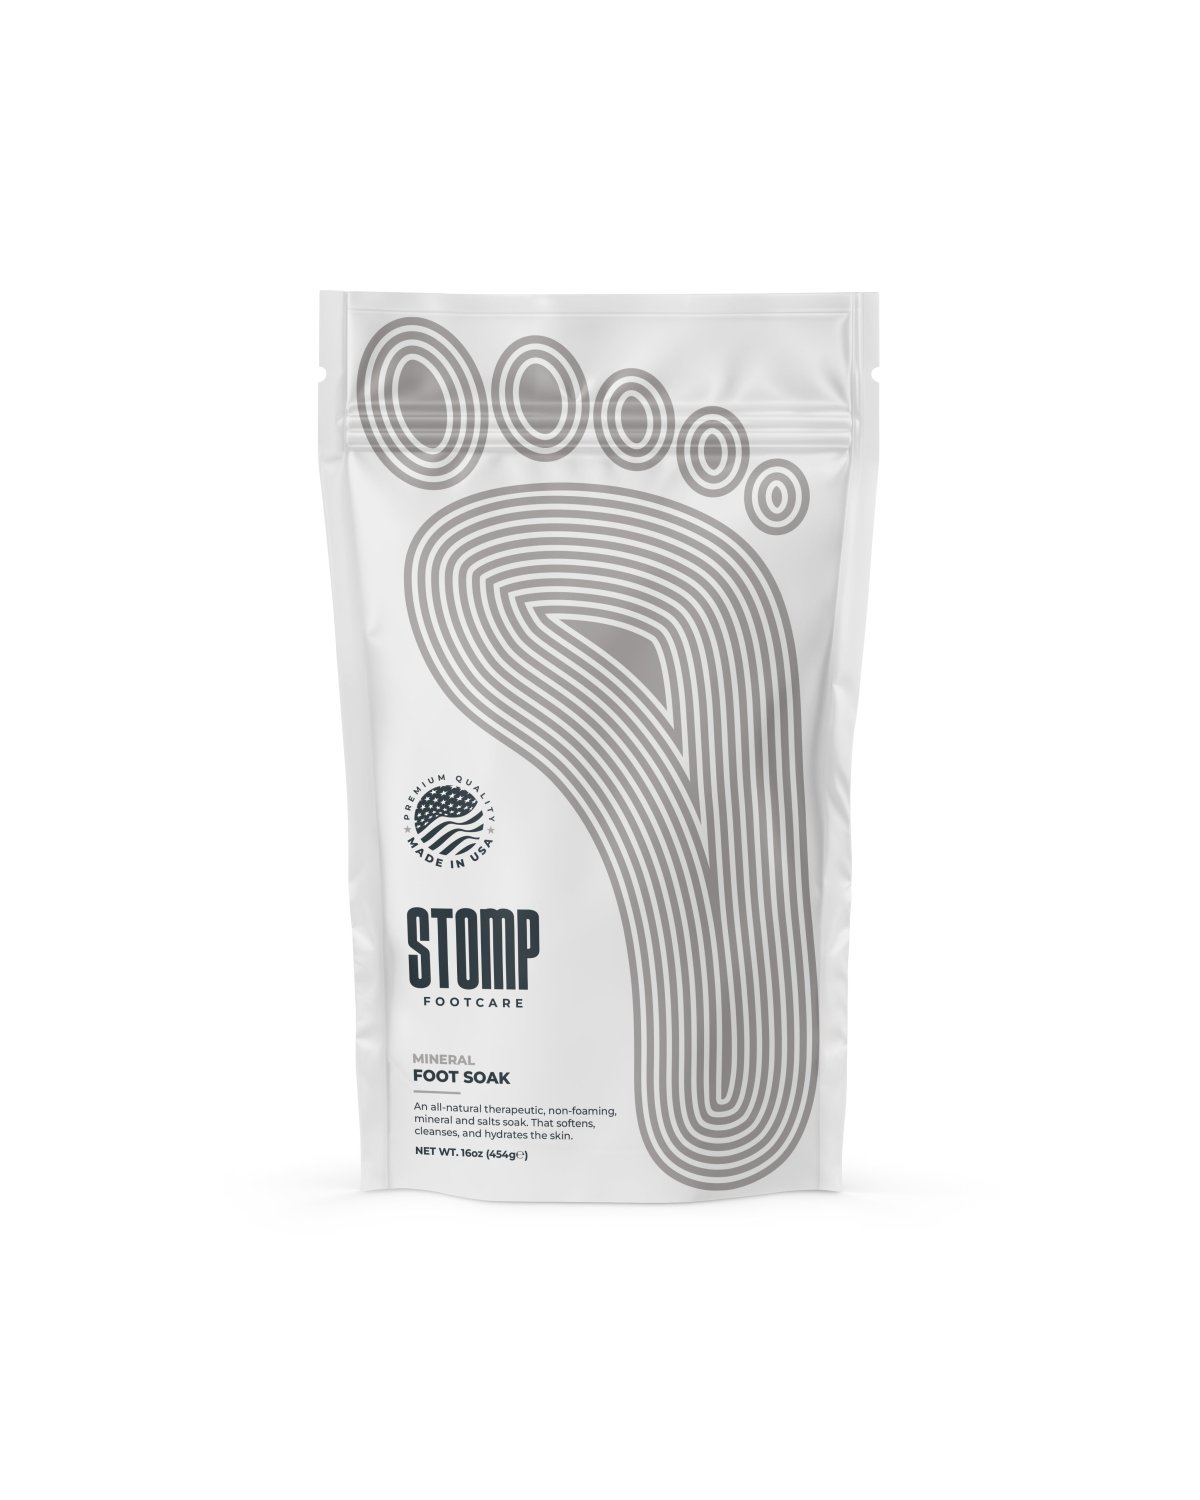
Start by filling a basin or foot tub with warm (not hot) water, around 95-105°F is ideal. Add mineral salts to the water. Stomp Footcare's Mineral Foot Soak ($16.99) combines Dead Sea Salt with Peppermint and Eucalyptus oils, creating a therapeutic soak that cleanses and refreshes tired feet while the peppermint provides cooling relief. Soak for 15-20 minutes. This duration allows the warm water to penetrate deep muscle tension without over-softening your skin.
After soaking, pat your feet dry and apply a foot cream designed for post-hike recovery. Stomp Footcare's Energizing Foot Cream ($13.99) contains menthol for cooling relief and urea to restore skin vitality after the moisture from soaking. This combination of soak and cream addresses both immediate soreness and skin health.
2. Roll and Massage Your Feet to Reduce Fatigue
Foot massage and rolling break up muscle tension that hiking creates. When you spend hours navigating uneven terrain, your foot muscles work overtime to stabilize your body and absorb impact. Massage and rolling release this tension and restore flexibility.
Start with a simple self-massage. Sit in a comfortable position and use your thumbs to apply firm pressure along the arch of your foot, working from your heel toward your toes. Spend extra time on the ball of your foot, this area absorbs the most impact during hiking. Apply steady pressure for 2-3 minutes per foot, then switch to lighter circular motions for another 2-3 minutes.
Rolling amplifies this effect. A cork ball or tennis ball works well. Place the ball under your foot and roll it back and forth along your arch, applying as much pressure as feels comfortable. Focus on the area between your heel and the ball of your foot. Roll for 10-15 minutes total, splitting time between both feet.
The combination of massage and rolling increases blood flow and prepares your feet for the next day.
3. Elevate Your Feet and Rest After a Hike
Elevation is one of the simplest yet most overlooked recovery strategies. Swelling in your feet after hiking occurs because blood and fluid pool in your lower legs and feet. Gravity works against drainage. Elevating your feet reverses this, allowing fluid to drain back toward your heart and reducing inflammation.
Lie on your couch or bed and prop your feet up on pillows so they're higher than your heart. Maintain this position for 30-60 minutes after your hike. If you can't lie down, sit in a chair with your feet propped on another chair or ottoman at roughly hip height.
Rest is equally critical. Your feet have absorbed impact, navigated obstacles, and carried your full body weight for hours. Resting allows muscle fibers to repair and reduces delayed soreness. Plan an easy day after a challenging hike. Avoid standing for extended periods, running, or other high-impact activities.
This recovery window is when your body repairs micro-tears in muscle tissue and rebalances fluid distribution.
4. Treat Blisters and Hot Spots Properly
Blisters and hot spots are common hiking injuries that require immediate attention. A hot spot is an area of friction-induced redness and irritation. Left untreated, it progresses to a blister. Blisters are fluid-filled pockets that form when skin separates due to repeated friction.
Treat hot spots early. As soon as you notice redness or tenderness, stop hiking if possible. Clean the area with antiseptic. Apply a protective layer like a blister pad or athletic tape to reduce further friction. Many hikers carry blister prevention tape on the trail specifically for this purpose.
For existing blisters, clean gently with soap and water. Apply an antiseptic ointment and cover with a sterile bandage. Do not pop the blister unless it's causing severe pain and limiting movement. The fluid inside protects the raw skin underneath. If you must drain it, use a sterilized needle, puncture from the side (not the top), and leave the skin intact as a protective barrier.
After draining, apply antibiotic ointment and cover with a non-stick bandage. Change the bandage daily and keep the area clean. Blisters typically heal in 3-7 days if kept clean and protected from further friction.
Prevention is more effective than treatment. Proper-fitting hiking boots, moisture-wicking socks, and correct lacing techniques prevent most blisters before they start.
Best Insoles for Hiking Foot Pain and Arch Support
Insoles designed for hiking address the root cause of many foot problems: inadequate arch support and pressure distribution. During long hikes, your arches flatten under sustained load, causing pain in the arch itself and radiating soreness throughout your foot.
Look for insoles with firm arch support and a metatarsal pad. The metatarsal pad sits just behind your toes and supports the ball of your foot, which absorbs significant impact during hiking.
Insoles with shock-absorbing cushioning in the heel reduce impact transmission up through your legs. This matters on long-distance hikes where cumulative impact adds up.
Replace insoles every 300-500 miles of hiking or every 12-18 months of regular use. Worn-out insoles lose cushioning and support, leading to increased soreness. Investing in quality replacement insoles costs $30-80 but prevents foot pain that could sideline you from hiking entirely.
Insert new insoles into your hiking boots at least a week before a long hike. Your feet need time to adjust to the new support structure. Wearing unseasoned insoles on a 15-mile day often causes blisters and soreness from the adjustment itself.
Hiking Shoe Lacing Techniques for Foot Pain Relief
How you lace your hiking boots dramatically affects comfort and pain levels. Improper lacing concentrates pressure on specific areas, creating hot spots and restricting blood circulation. Correct lacing distributes pressure evenly and allows your foot to move naturally within the boot.
The standard lacing pattern works for most hikers: start at the toe box and work upward, keeping tension consistent. However, two variations solve specific problems.
For high-arched feet or arch pain: Lace the toe box loosely, then tighten gradually as you move toward your ankle. This allows your arch to settle naturally into the boot without being compressed.
For ball-of-foot pain or metatarsal soreness: Skip the lace holes directly over the ball of your foot. This creates a pressure-free zone where your metatarsal heads rest.
For heel slipping: Tighten your heel counter (the laces around your heel) more firmly than the rest of your boot. This prevents your heel from sliding inside the boot, which causes friction and blisters.
Proper lacing takes 30 seconds and prevents hours of pain. Adjust your lacing pattern during a hike if you develop new soreness, your feet' needs can change as they swell and fatigue.
Hiking Foot Care Tips to Prevent Soreness on Future Trails
Prevention is always superior to recovery. Implementing these strategies before your next hike eliminates most foot pain before it starts.
Choose the right socks. Moisture-wicking synthetic or merino wool socks prevent blisters and keep your feet dry.
Break in your boots properly. Wear new hiking boots on short walks around town before tackling a long trail.
Maintain toenails. Long toenails press against the inside of your boot, causing pain and potential black toenails (where blood pools under the nail).
Strengthen your feet during off-season. Exercises that strengthen foot and ankle muscles reduce fatigue during hiking.
Use foot care products between hikes. Stomp Footcare's Hydrating Foot Cream ($13.99) maintains skin health and prevents dryness and cracking that can lead to pain during hiking.
Apply preventive foot spray before hiking. Stomp Footcare's Cleansing Foot Spray ($14.99) cleanses and deodorizes while supporting skin resilience.
Stay hydrated and fuel properly. Dehydration and low blood sugar accelerate foot fatigue. Drink water consistently throughout your hike and eat small snacks every 1-2 hours.
Sore foot relief hikers deserve doesn't have to sideline your adventures.
Stomp Footcare's specialized foot care solutions are designed specifically for active people like you. Our PETA-certified, USA-made products address the exact foot concerns hikers face. Whether you need rapid relief from tired, aching feet with our Energizing Foot Cream or a therapeutic soak to prepare your feet for recovery, we have the tools to keep you active and pain-free.

Frequently Asked Questions
What can I do immediately after a hike to relieve sore feet?
Start with a foot soak in warm water with mineral salts for 15-20 minutes to reduce foot fatigue and soreness. Follow with gentle foot massage using a rolling motion, then elevate your feet above heart level for 20-30 minutes. Apply a cooling foot cream like Stomp Footcare's Energizing Foot Cream ($13.99) to tired feet for rapid relief. This sequence addresses immediate discomfort and promotes recovery.
How can hiking foot care tips prevent pain on future hikes?
Proper hiking foot care starts before you hit the trail. Ensure your hiking boots fit correctly with adequate toe box space and heel support. Use quality insoles designed for hiking to provide arch support and cushioning. Wear moisture-wicking socks to reduce friction and blisters. Break in new footwear on shorter hikes first. On the trail, take regular breaks, inspect your feet for hot spots, and address minor issues before they become blisters. These preventive measures reduce sore feet significantly.
What are the best insoles for hiking foot pain?
The best insoles for hiking foot pain provide arch support, metatarsal padding, and shock absorption. Look for insoles designed specifically for hiking or trail running that offer cushioning in the ball of the foot and heel. Insoles with metatarsal support can help with ball-of-foot pain common after long-distance hiking. Consider your foot type (flat, neutral, or high arch) when selecting insoles, as proper support depends on your individual arch structure.
How do hiking shoe lacing techniques reduce foot pain?
Proper lacing techniques reduce pressure points and improve foot stability on uneven terrain. For foot pain relief, try a looser lace tension across the midfoot while keeping the heel snug to prevent slipping. Some hikers use a heel-lock lacing pattern to secure the heel without creating pressure on the top of the foot. Adjust lacing tightness throughout your hike as feet swell, this prevents friction, reduces blister risk, and minimizes overall foot fatigue.
When should I see a doctor about foot pain from hiking?
Seek professional evaluation if foot pain persists beyond 2-3 days of rest, if you notice severe swelling, redness, or signs of infection, or if pain prevents normal walking. Severe toenail pain, suspected fractures, or pain accompanied by numbness or tingling requires immediate attention. If foot pain from hiking is recurring or worsening despite proper footwear and care, a healthcare provider can assess for underlying issues like plantar fasciitis or structural problems.
